
It was 11:30 PM on a Friday night, and I had just committed the ultimate orthodontic sin: I bit into a piece of crusty sourdough bread. *Ping.* That tiny, metallic snap echoed in my head like a warning bell, and within seconds, a sharp wire was burrowing into my inner cheek like a persistent, angry mosquito. I stood there, staring in the bathroom mirror with a phone flashlight in one hand and a pair of sterilized tweezers in the other, wondering if I was about to become my own surgeon. We’ve all been there—feeling that sudden, sharp jab of pain and knowing your orthodontist won’t be in the office for another sixty hours. While we always focus on preventive tips for long-lasting dental health for families, the reality is that accidents happen, usually at the most inconvenient times possible. Today, I’m sharing how to tame that rogue wire without making things worse, based on the many “MacGyver” moments I’ve had during my own long journey with braces. My goal is to get you through the night without a mouth full of sores or a panicked trip to the emergency room.
Stop the Stabbing Before You Lose Your Mind
When that wire starts poking, your first instinct is probably to grab the first tool you see in the junk drawer. Stop right there. I’ll be honest: early in my treatment, I actually considered using a drop of hobby glue to hold a loose bracket in place. Luckily, I stopped myself after remembering why you should never use superglue to fix a broken denture or any dental appliance—the chemicals are toxic, and it is an absolute nightmare for the professional to remove later. The pain of a broken wire is visceral, but the damage from a bad DIY fix can be permanent. Interestingly, the American Association of Orthodontists (AAO) notes that most orthodontic “emergencies” are actually minor irritations that can be managed temporarily with non-medicinal interventions until you can reach a professional. We are looking for “comfort and containment,” much like the philosophy behind family dentistry tips that make oral care effortless and effective. If you don’t act, you’ll end up with a painful ulcer that makes talking or eating a total chore. Have you ever felt that specific, sharp sting in the middle of a dinner party and had to hide your discomfort?
Is it really safe to DIY a braces repair?
It’s a valid fear to have. You’ve invested a lot of time and money in your smile, and the last thing you want to do is mess up the alignment. But there is a huge difference between performing a structural “repair” and simply managing your discomfort. If you’ve been following how regular dental cleanings can save you money in the long-run, you already know that being proactive about small issues prevents them from becoming expensive disasters. Tucking a wire back with a clean pencil eraser or covering it with a thick layer of silicone wax isn’t going to set your treatment back months. It’s actually more dangerous to let the wire continue to lacerate your tissue, which leads to inflammation and even infection. If you’ve dealt with how your child’s gums bleed during their first week of braces, you know the mouth is incredibly sensitive; a broken wire just triples that sensitivity. We’re going to focus on safe, non-invasive ways to protect your cheeks until you can get into the professional chair.
Find the Rogue Wire with a Good Light
Before you start poking around your mouth, you need a clear view of the battlefield. Grab a handheld mirror and find the brightest light in your house—even a phone flashlight works. You are looking for the exact point where the wire has slipped out of the last bracket or where a tiny ‘pigtail’ (the twisted end of a thin wire) has bent outward. This isn’t the time for guesswork; you need to see if the wire is just long or if it has actually snapped. I remember a particularly frustrating afternoon before a big presentation when I couldn’t figure out why my cheek felt like it was on a fishhook. It turned out the wire had shifted entirely to one side because I’d been chewing too much on the right. Identifying the shift early is key, much like how to help your teenager feel confident about wearing braces by teaching them to recognize these small mechanical shifts before they become painful.
Nudge the Wire with a Pencil Eraser
One of the most effective tools for a poking wire is actually sitting in your desk drawer: a clean pencil eraser. Think of the wire like a loose thread on a sweater; you don’t want to pull it, you just want to tuck it back in. Use the eraser to gently push the wire toward the tooth or back into the groove of the bracket. The rubber provides enough grip to move the metal without the risk of scratching your enamel or slicing your finger. During my second year of treatment, I once spent twenty minutes in a restaurant bathroom trying to use a plastic coffee stirrer to do this—it was slippery, awkward, and completely ineffective. The eraser is the ‘gold standard’ for home adjustments because it’s firm yet forgiving. If you can’t get it to stay, don’t force it. The goal is comfort, not a permanent structural fix. While we often discuss gentle teeth cleaning best practices for sensitive gums, this same philosophy of ‘gentle pressure’ applies to moving hardware.
Dry the Area Before Applying Wax
Orthodontic wax is a lifesaver, but most people use it incorrectly. If you try to stick wax onto a wet bracket or a slobbery wire, it will slide off in minutes. You must dry the area first. Use a cotton swab or a clean tissue to pat the bracket and the offending wire bone-dry. Roll a pea-sized amount of wax between your fingers until it’s warm and pliable, then smash it firmly over the sharp point. It should look like a little protective cocoon. 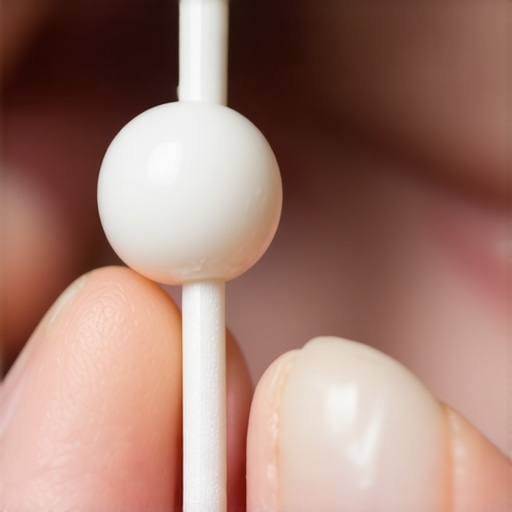 This barrier acts as a physical shield, allowing the lacerated tissue in your cheek to start healing. I once made the mistake of trying to apply wax while eating—it didn’t last through the first bite. If the irritation has already caused a small sore, treating it is similar to the best way to soothe a sore jaw from teeth grinding; you need to reduce the friction and let the inflammation subside.
Rinse with Saltwater to Prevent Sores
Once the wire is contained, you need to deal with the damage already done to your mouth. A sharp wire can create micro-tears that are prone to infection. Mix half a teaspoon of salt in a glass of warm water and swish it around for thirty seconds. This helps keep the area clean and speeds up the healing of the inner cheek. It’s a simple step that people often skip, but it’s just as important as knowing how to prevent your permanent retainer from trapping food particles. Keeping the environment sterile prevents a minor poke from turning into a painful ulcer that lasts for a week. If you find your teeth feel tender after all this poking and prodding, it’s a sensation similar to how to manage tooth sensitivity after a professional scale and polish; stick to soft foods for the next few hours and let your mouth rest.In my years of obsessing over my own smile, I’ve realized that most of us are victims of oral health myths debunked long ago by science. We tend to think that if our teeth are white and we aren’t in pain, our mouths are healthy. This is the first trap. I’ve seen people with Hollywood-white smiles who are actually battling significant bone loss because they prioritized aesthetics over the underlying structures. While we focus on preventive tips for long-lasting dental health for families, the real expertise lies in understanding that your mouth is a complex ecosystem, not just a row of ivory blocks. For instance, the reason your teeth look yellow even though you brush twice daily is often because the enamel is thinning, revealing the yellowish dentin underneath, which no amount of scrubbing will fix.
Stop Assuming White Teeth Are Always Healthy
The biggest mistake I see—and one I definitely made early on—is treating dental hygiene like scrubbing a kitchen floor. More pressure does not equal more clean. In fact, aggressive brushing is a ‘trap’ that leads to permanent damage. I once thought I was being ‘extra thorough’ by using a firm brush, only to find out why your gums recede faster if you use a hard-bristled brush. Once that gum tissue is gone, it doesn’t just grow back like a haircut. It’s a structural loss that exposes the sensitive roots of your teeth. We often talk about how how regular teeth cleaning can prevent major dental issues, but that only works if you aren’t sabotaging the process at home with over-enthusiastic scrubbing.
Does Your At-Home Routine Miss the Microscopic Danger?
This is the question that separates the beginners from the experts. Even if you are a flossing champion, you are only reaching about 60% of the tooth’s surface. The real ‘hidden nuance’ is the maturation of biofilm. According to a study published in the Journal of Clinical Periodontology, subgingival biofilm—the bacteria living below your gum line—begins to calcify into tartar in as little as 24 to 48 hours. Once it hardens, your toothbrush is effectively useless against it. This is why professional intervention isn’t just a suggestion; it’s a biochemical necessity. 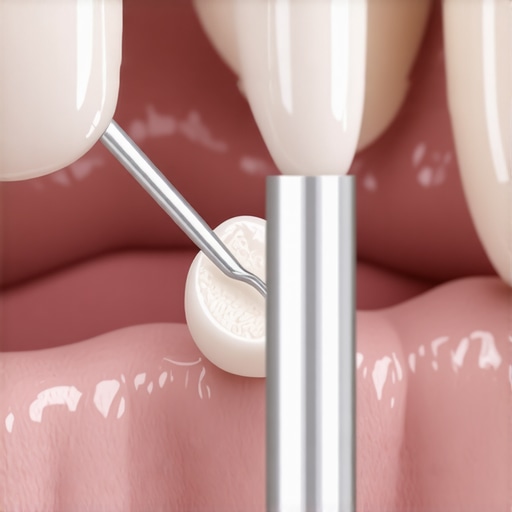
Don’t Wait for Pain to Signal a Problem
The most dangerous phrase in dentistry is ‘It doesn’t hurt, so I’ll wait.’ By the time a tooth starts throbbing or a wire starts poking, the issue has likely been brewing for months. We need to shift from a reactive mindset to a proactive one. Much like the ‘MacGyver’ fixes we discussed for rogue wires, home care is about management, not a cure. If you ignore the signs of inflammation because they are ‘minor,’ you’re essentially allowing a slow-motion disaster to unfold. Have you ever fallen into this trap? Let me know in the comments. I’m curious if you’ve ever ignored a small twinge only for it to turn into a weekend emergency.
The Only Gadgets That Earn a Spot in My Bathroom Cabinet
When I finally stopped treating my dental routine like a chore and started treating it like a precision engineering project, everything changed. I used to think a manual brush and some waxed floss were enough, but after my third orthodontic adjustment, I realized I was bringing a knife to a gunfight. The absolute game-changer for me was the high-pressure water flosser. If you are struggling with hardware, the benefits of using a water flosser for patients with gum disease or braces cannot be overstated. I specifically use the Waterpik Aquarius because of its ten pressure settings; I start low to massage the gums and crank it up to power-wash between brackets. It reaches the debris that even the best traditional floss misses. I also swear by disclosing tablets. These little purple pills are the ultimate lie detectors—they dye the plaque you missed, showing you exactly where your technique is failing. It is a humbling experience, but it’s how you actually master teeth cleaning secrets to achieve a bright smile in under 30 minutes without guessing. 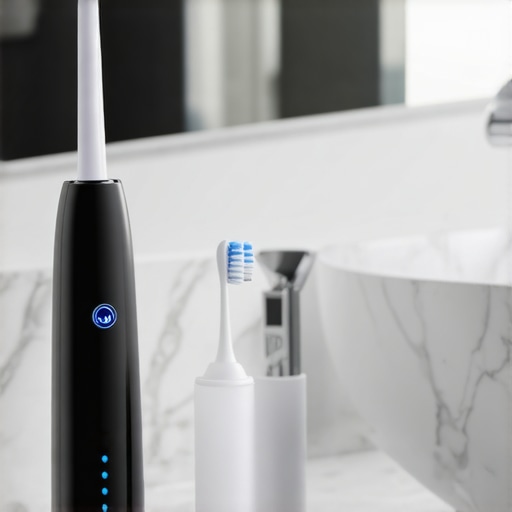
How do I maintain these results for the next fifty years?
The maintenance phase is where most people drop the ball. They get the braces off or finish their whitening treatment and assume the work is done. In reality, your teeth have a ‘memory’ and desperately want to return to their original, crooked positions. This is why understanding how to stop your teeth from shifting after your braces come off is just as important as the treatment itself. For those who have invested in aesthetics, how to maintain your porcelain veneers so they last twenty years comes down to using a non-abrasive gel rather than a standard gritty toothpaste. Authority in oral care comes from this level of specificity. The American Dental Association (ADA) notes in a meta-analysis published in the Journal of the American Dental Association (JADA) that oscillating-rotating electric toothbrushes provide a statistically significant reduction in both plaque and gingivitis compared to manual brushing in both short and long-term trials. I personally upgraded to a brush with a built-in pressure sensor because, as I mentioned before, I have a habit of scrubbing too hard. If the light turns red, I know I’m damaging my gums. This kind of real-time feedback is the only way to ensure maintaining oral health with expert advice for a lifetime of healthy teeth actually happens in practice, not just in theory.
The Smart Home Smile is Coming Faster Than You Think
Looking ahead, I predict we are moving toward a ‘Quantified Self’ model for oral health. We are already seeing cosmetic dentistry innovations you cant miss this year that include AI-integrated brushes that map your mouth in 3D. Soon, your toothbrush won’t just tell you that you brushed for two minutes; it will analyze the chemical composition of your saliva to alert you to rising acidity levels before a cavity even forms. We are moving away from reactive ‘drilling and filling’ toward a future of proactive bio-monitoring. If you want to stay ahead of the curve, stop guessing and start measuring. I challenge you to try this tonight: grab a pack of disclosing tablets and use them after you think you’ve finished brushing. You’ll be shocked at what you find, and that visual data will change your brushing habits forever.
Lessons from the Braces Battlefield That I Learned the Hard Way
After years of navigating the ups and downs of orthodontic treatment, I’ve realized that oral health isn’t a destination—it’s a daily practice of intentional maintenance. One of the biggest oral health myths debunked during my journey was the idea that I could ‘fix’ everything myself or just wait for pain to appear. Real progress happened when I embraced family dental care hacks to keep your kids smiling daily and applied that same level of discipline to my own life. I learned that consistency beats intensity every single time; scrubbing harder is never the answer, but showing up for your routine with the right tools is.
The High-Performance Toolkit for Your Daily Routine
If you want to move beyond basic survival and start thriving with your dental health, you need the right gear in your cabinet. I always recommend starting with the benefits of using a water flosser for patients with gum disease or orthodontic hardware—it is the most efficient way to keep your gumline clean without irritating sensitive tissues. #IMAGE_PLACEHOLDER_E# I also rely heavily on disclosing tablets to ensure my technique is actually removing plaque rather than just moving it around. Most importantly, never skip your professional appointments because how regular dental cleanings can save you money in the long-run is a financial reality as much as a health one. These sessions catch what even the best home routine misses.
Invest in Your Smile Like You Mean It
Taking care of your teeth is one of the most rewarding forms of self-care you can practice. It’s not just about avoiding a poking wire today; it’s about maintaining oral health with expert advice for a lifetime of healthy teeth. Whether you are currently dealing with braces, dental implants, or simply want to preserve your natural enamel, the effort you put in now determines your comfort decades from now. If you’re ever unsure about a DIY fix or facing an emergency you can’t handle at home, don’t hesitate to contact us for professional guidance. Have you ever had a dental ‘MacGyver’ moment that actually saved the day? Let me know in the comments below!