
I remember sitting at my kitchen table, staring at a box of ‘professional strength’ whitening strips I’d bought on a whim. My gums had been receding for years—a little gift from my younger, over-aggressive brushing days—but I wanted that Hollywood glow for my cousin’s wedding. I popped a strip on, and within three minutes, I felt it: a sharp, electric ‘zing’ that felt like a tiny lightning bolt hitting my jawbone. It was a wake-up call. If you’ve ever felt that localized terror, you know exactly why whitening with a receding gum line feels like playing a dangerous game of chance. Today, I’m going to share exactly how I reclaimed my bright smile without the agony, focusing on methods that respect your delicate gum tissue. Have you ever had to stop a whitening treatment halfway through because the pain was just too much?
Why Most Store-Bought Kits Fail Your Sensitive Gums
The big mistake I made early on was assuming that my teeth were a uniform surface. They aren’t. When your gums recede, they expose the cementum—the layer covering the tooth root—which is much more porous and sensitive than the enamel on the crown. Most over-the-counter kits use a ‘one size fits all’ approach with high concentrations of hydrogen peroxide that seep into those pores instantly. Instead of a bright smile, you end up with throbbing roots. I actually learned the hard way that the danger of using baking soda to whiten your enamel every day is even worse when your roots are exposed, as it can abrade that soft root surface faster than you can say ‘ouch.’ To get results, we have to look at the science behind teeth whitening through a lens of protection rather than just bleaching.
Is it actually possible to whiten without making the recession worse?
It’s a valid fear. Many people worry that the chemicals will eat away at their remaining gum tissue or cause permanent nerve damage. According to clinical research published in the Journal of the American Dental Association, while whitening doesn’t ‘eat’ gums, it can cause significant soft tissue irritation if the trays aren’t custom-fitted to keep the gel away from the recession line. This is why gentle teeth cleaning best practices for sensitive gums are the essential first step before you even think about a whitening gel. You need a clean, healthy foundation to avoid trapping bacteria under a whitening tray. In the next section, I’ll dive into the specific tools I switched to—like specialized gels and custom delivery systems—that finally let me ditch the yellow without the ‘lightning bolt’ side effects.
The Safe Strategy for Whitening Sensitive Roots
The first thing I learned is that you cannot let the whitening agent touch the recession line. Think of your gums like a levee during a storm; once the water (or in this case, peroxide) gets over the top, the damage is done. Professional-grade treatments often use a ‘gingival barrier’—a light-cured resin that acts like a raincoat for your gums. When I finally stopped using the ‘strip’ method and had a custom tray made that was scalloped exactly to my gum line, the difference was night and day. You also need to master how to brush your teeth without damaging receding gum lines daily, because any extra inflammation makes the whitening process ten times more painful. 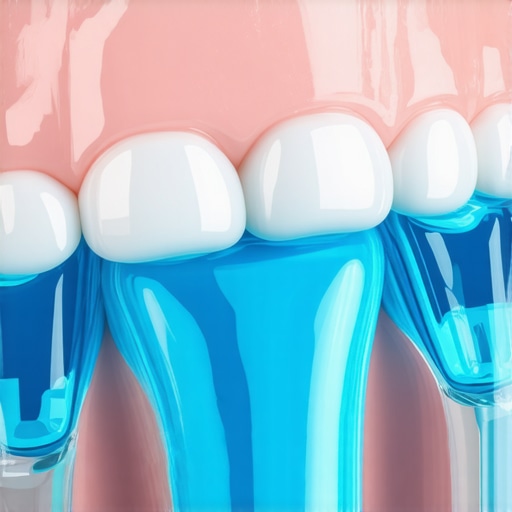 I once thought I could MacGyver a solution by painting my exposed roots with a thick layer of Vaseline before using a generic tray. It was a greasy disaster. The gel just slid right under the petroleum jelly, and I spent the night with an ice pack on my face. That’s when I realized that DIY hacks are no substitute for precision.
Why Carbamide Peroxide is Better for Your Roots
Most people reach for the highest percentage of Hydrogen Peroxide they can find, thinking faster is better. But Hydrogen Peroxide is like a microwave—it’s intense and works quickly. Carbamide Peroxide is more like a slow-cooker. It breaks down into hydrogen peroxide over several hours, which is much gentler on the exposed cementum of your roots. I remember the first time I switched to a 10% carbamide gel; I actually fell asleep with the trays in and woke up without that terrifying ‘zing.’ This is one of those cosmetic dentistry innovations you cant miss this year—the shift toward lower-concentration, longer-wear formulas that protect the tooth’s nerve.
The Pre-Whitening Desensitization Hack
Before you even open a tube of gel, you have to ‘pre-game’ your teeth. About two weeks before I plan to whiten, I switch to a toothpaste high in potassium nitrate. This isn’t just a marketing gimmick; the potassium ions actually travel into those tiny pores (tubules) in your teeth and calm the nerve. If you skip this, you’re basically walking into a snowstorm without a coat. Also, remember that the truth about using baking soda as a toothpaste is that it can be too abrasive for recession areas, potentially opening up those tubules even further right before you apply bleach.
Professional Cleanings Save Your Enamel
It sounds counter-intuitive to go to the dentist to get a cleaning before you whiten at home, but it’s the only way to ensure the gel works evenly. Plaque and tartar act as a shield, preventing the whitening agent from reaching the tooth. If you have tartar buildup near your recession, the gel will whiten the area around the tartar, leaving you with a splotchy, uneven mess. Understanding how regular teeth cleaning can prevent major dental issues is key here because a clean surface allows for a much lower concentration of gel to be effective, which is exactly what your sensitive gums need.In my journey to a brighter smile, I discovered a truth that most marketing campaigns conveniently ignore: if you have gum recession, the goal isn’t just to get white teeth, it’s to avoid permanent nerve damage. We often think that ‘more is better’ when it comes to beauty treatments, but when you are dealing with exposed roots, that mindset is a one-way ticket to a root canal. I used to believe that if a 10% gel worked a little, a 35% gel would work wonders. I was wrong. In reality, the higher the concentration, the faster the peroxide travels through the microscopic tubules of your exposed roots. A study published in Clinical Oral Investigations highlights that high-concentration hydrogen peroxide can reach the dental pulp in as little as 15 minutes, triggering an inflammatory response that can linger for weeks. This is why I advocate for the ‘low and slow’ method—using lower concentrations over a longer period. It allows your teeth to hydrate between sessions and keeps the nerve from going into a state of shock.
Stop Chasing the Highest Peroxide Percentage
Most people think the ‘burning’ sensation means the product is working. It’s actually a sign of chemical trauma to your soft tissues. In my experience, the biggest oral health myths debunked usually involve the idea that pain is a necessary part of cosmetic progress. If you feel even a slight tingle near the gum line, you’ve already gone too far. When you have recession, you have to treat the whitening process like surgery—precision is everything. This is where maintaining oral health expert advice for a lifetime of healthy teeth becomes practical; you have to protect the foundation before you can paint the house. 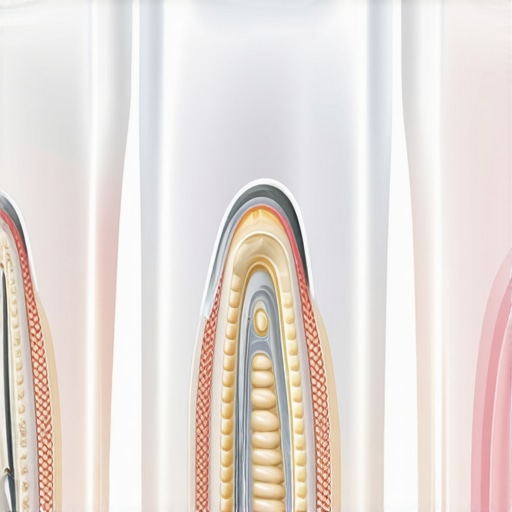
The Gray Tooth Trap That Wastes Your Money
One of the most frustrating ‘oops’ moments I see is people trying to bleach ‘gray’ teeth. If your teeth have a gray or bluish hue—often caused by certain medications or old dental work—traditional peroxide treatments simply won’t work. I’ve seen people spend hundreds of dollars on kits, only to end up with incredibly sensitive gums and the exact same tooth color. You might be making the one mistake people make when trying to whiten gray teeth: assuming all discoloration is the same. Yellow stains are organic and respond to bleach; gray stains are often structural and require cosmetic dentistry innovations like bonding or thin veneers to correct.
Why does professional whitening work on yellowing teeth but not gray ones?
It comes down to the source of the stain. Yellowing is usually ‘extrinsic’ or ‘intrinsic’ organic staining from coffee, tea, or age, which peroxide can break down through oxidation. Graying is often ‘inorganic’ or deep-seated in the tooth’s structure, where bleach cannot reach. Attempting to whiten these areas usually results in the ‘translucency effect,’ where the edges of your teeth look clear or blue, making the recession look even darker by comparison. If you’re struggling with this, looking into revolutionary teeth cleaning techniques for 2025 might be a better start than reaching for another bottle of gel. Have you ever fallen into the trap of using a product that was too strong for your sensitive gums? Let me know in the comments.Once I finally achieved that brighter shade, the real challenge started: keeping it. I didn’t want to go through the whitening process every month, especially with my recession. I realized that maintenance is where most people fail because they treat it as an event rather than a lifestyle. My first ‘holy grail’ tool was an electric toothbrush with a built-in pressure sensor. This isn’t just a luxury; it’s a necessity for those of us with recession. If I press too hard, the light turns red, reminding me that I’m literally scrubbing away my gums. This is the foundation of maintaining oral health expert advice for a lifetime of healthy teeth. If you aren’t using a pressure sensor, you are likely undoing all your hard work every morning at 7:00 AM. The second tool is a water flosser, but with a caveat. I use it on the lowest setting with lukewarm water to avoid those temperature-based ‘zings.’ Research from the International Journal of Dental Hygiene suggests that while sonic brushing is effective, the mechanical removal of biofilm at the gum line is most safely achieved when pressure is regulated. This is crucial when you are trying to keep the area around your recession clean enough for the whitening to look uniform. When you master how to brush your teeth without damaging receding gum lines, you’ll notice that the ‘yellow’ at the base of the tooth stays away longer because there’s less plaque for stains to cling to. 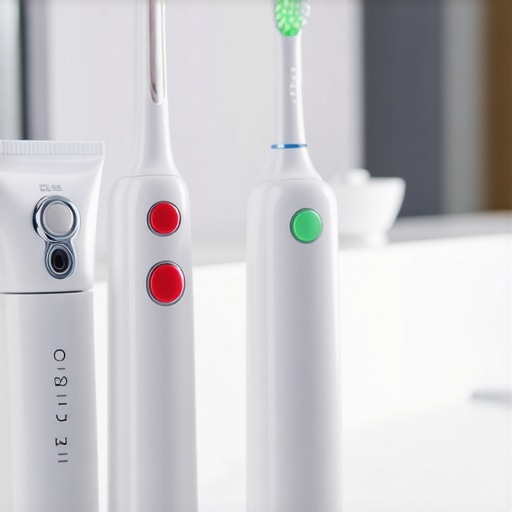
How do I maintain my bright smile over time?
The secret isn’t more bleach; it’s smarter habits. I’ve adopted what I call the ‘Sip and Swish’ method. After I drink my morning coffee, I immediately swish with plain water. It sounds simple, but it prevents the acids and pigments from settling into the enamel pores. You should also check out the secret to keeping your coffee habit without the staining for more on this. I also schedule a professional cleaning every six months without fail. People think they can DIY their way to a Hollywood smile, but how regular teeth cleaning can prevent major dental issues is the only way to clear the ‘bio-canvas’ for your at-home maintenance. Looking ahead, I predict we will see a massive surge in cosmetic dentistry innovations you cant miss this year, particularly in the realm of AI-monitored home care. We are already seeing apps that can scan your smile and tell you exactly which areas are building up stain-producing plaque. For those of us with sensitive roots, this precision is a game-changer because it means we only treat the areas that actually need it. As Dr. Gordon Christensen, a renowned expert in clinical dentistry, often points out, ‘the best dentistry is the least dentistry.’ This philosophy is exactly what we need when dealing with the delicate balance of whitening and recession. My top tip for you today? Switch to a 5% potassium nitrate toothpaste two weeks before your next cleaning—your gums will thank you. Have you tried a pressure-sensing toothbrush yet?
The Hardest Lesson I Learned About Exposed Roots
Looking back at my journey, I realized that my biggest hurdle wasn’t the shade of my teeth, but my own impatience. I’ve learned that a white smile built on a damaged foundation isn’t a real victory. First, I discovered that the danger of using baking soda to whiten your enamel every day is amplified when your roots are showing; it acts like sandpaper on delicate tissue. Second, sensitivity isn’t something to ‘power through’—it’s a warning from your nerves. If you feel that sharp zing, you must stop. Lastly, keeping up with oral health myths debunked in 2025 has taught me that the latest technology focuses on protection rather than just aggressive bleaching.
My Essential Toolkit for a Sensitive Smile
If you want results without the agony, you need a specific set of tools. I personally rely on custom-scalloped trays because they keep the whitening gel entirely off the recession line. I also recommend checking out cosmetic dentistry innovations you cant miss this year, specifically formulations designed for high-sensitivity patients. Don’t forget an electric toothbrush with a pressure sensor; mastering how to brush your teeth without damaging receding gum lines is the most important maintenance step you can take to preserve your enamel.
Your Turn to Shine Without the Pain
Achieving a radiant smile shouldn’t involve a choice between aesthetics and agony. By choosing the ‘low and slow’ method and prioritizing your root health, you can enjoy the confidence boost of transforming your smile safely. Always keep maintaining oral health at the forefront of your routine, and your bright results will last much longer than any quick-fix kit could ever promise. Have you ever had to stop a whitening treatment halfway through because the pain was just too much for your sensitive gums?